
A guide to restore the functionality and appearance of a used laptop using quality products and tools.
Introduction
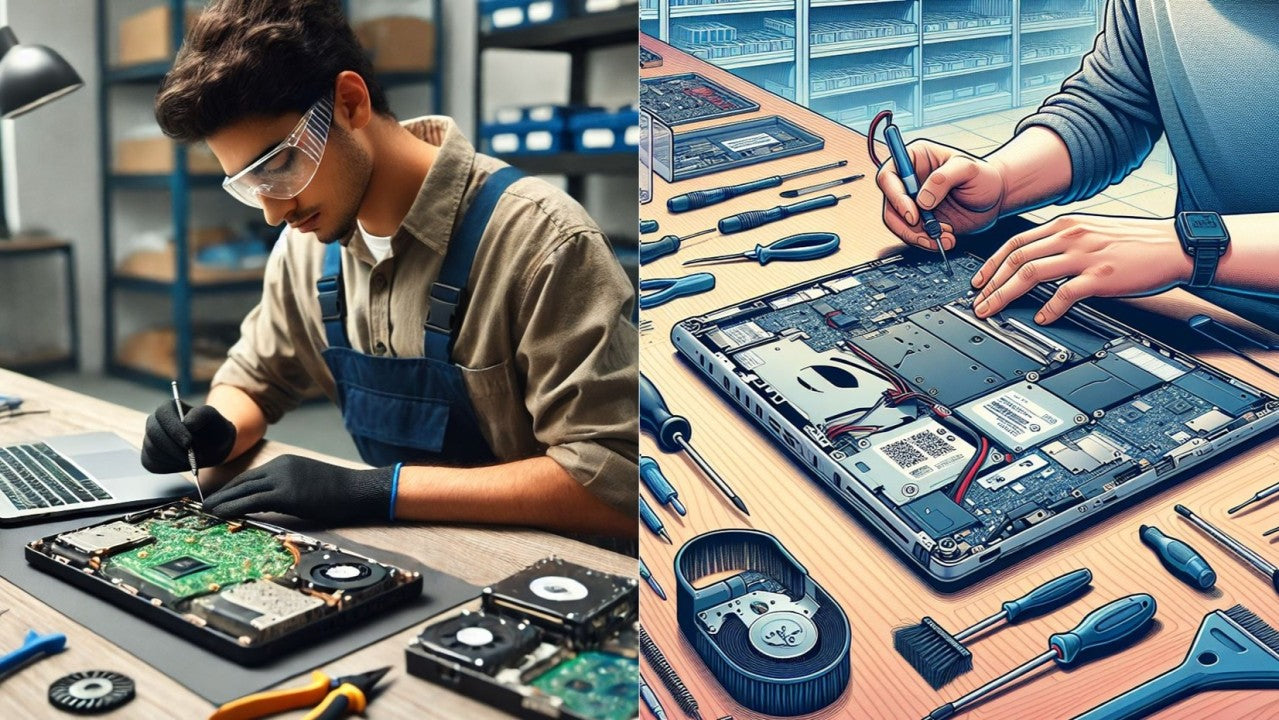
Refurbishing a laptop is a process of repairing, cleaning, and upgrading a used device to make it more functional and attractive. Refurbishing can extend the lifespan of a laptop, reduce electronic waste, and save money. However, refurbishing a laptop requires some skills, knowledge, and equipment to ensure a successful outcome. This document provides a framework for refurbishing a laptop, covering the steps of testing, screen refurbishment, and cosmetic refurbishment using Skinz™ and SticKeys products.
Testing
The first step of refurbishing a laptop is to test its hardware and software components to identify any issues or defects that need to be fixed or replaced. Testing can help determine the overall condition of the laptop and the scope of the refurbishment project. Some of the common tests that should be performed are:
· Power test: Check if the laptop can turn on and off properly, and if the battery can hold a charge. If not, the power adapter or the battery may need to be replaced.
· Screen test: Check if the screen has any cracks, scratches, dead pixels, or backlight problems. If so, the screen may need to be repaired or replaced.
· Keyboard and touchpad test: Check if the keyboard and touchpad are responsive and functional, and if any keys are missing or damaged. If so, the keyboard or the touchpad may need to be cleaned or replaced.
· Sound test: Check if the speakers and the microphone are working properly, and if the sound quality is clear and loud. If not, the speakers or the microphone may need to be repaired or replaced.
· Port test: Check if all the ports, such as USB, HDMI, audio, and Ethernet, are working properly, and if any of them are loose or broken. If so, the ports may need to be repaired or replaced.
· Wi-Fi and Bluetooth test: Check if the laptop can connect to the internet and other devices wirelessly, and if the signal strength and speed are satisfactory. If not, the wireless card or the antenna may need to be repaired or replaced.
· Memory and storage test: Check if the laptop has enough RAM and hard drive space to run smoothly, and if there are any errors or bad sectors in the memory or the storage. If so, the RAM or the hard drive may need to be upgraded or replaced.
· Operating system and software test: Check if the laptop has a valid and updated operating system and antivirus software, and if there are any viruses, malware, or unwanted programs in the laptop. If so, the operating system and the software may need to be reinstalled or removed.
After testing, the laptop should be graded according to its condition, such as excellent, good, fair, or poor, and a list of the necessary repairs or replacements should be made.
Screen Refurbishment
The second step of refurbishing a laptop is to refurbish the screen, which is one of the most visible and important parts of the device. Screen refurbishment can improve the display quality and the appearance of the laptop, and it can be done in two ways: screen savers and full screen refurbishment.
Screen Savers
Screen savers are protective films that can be applied to the screen to prevent scratches, dust, fingerprints, and glare. Screen savers are easy to install and remove, and they can enhance the clarity and brightness of the screen. Screen savers are suitable for laptops that have minor screen issues, such as small scratches or smudges, or for laptops that need extra protection from external factors, such as sunlight or moisture. Screen savers come in different sizes, shapes, and types, such as matte, glossy, anti-glare, or anti-blue light. To apply a screen saver, the following steps should be followed:
· Clean the screen with a microfiber cloth and a screen cleaner to remove any dust, dirt, or grease.
· Peel off the backing of the screen saver and align it with the edges of the screen.
· Press the screen saver gently from the center to the sides, and use a squeegee or a credit card to smooth out any bubbles or wrinkles.
· Trim any excess material from the screen saver with a sharp knife or scissors.
Full Screen Refurbishment
Full screen refurbishment is a process of replacing the entire screen or its components, such as the LCD panel, the digitizer, the glass, or the bezel. Full screen refurbishment is necessary for laptops that have major screen issues, such as cracks, dead pixels, or backlight problems, or for laptops that need a higher resolution or a larger size of the screen. Full screen refurbishment requires some tools and skills, and it can be done in the following steps:
· Turn off the laptop and remove the battery and the power adapter.
· Use a screwdriver to remove the screws that hold the screen bezel in place, and pry off the bezel with a plastic tool or a guitar pick.
· Disconnect the video cable and the inverter cable from the back of the screen, and remove the screen from the hinges.
· Replace the screen with a new one that matches the specifications and the model of the laptop, and reconnect the cables and the hinges.
· Reattach the bezel and the screws, and turn on the laptop to test the new screen.
Cosmetic Refurbishment
The third step of refurbishing a laptop is to refurbish the cosmetic aspects of the device, such as the case, the keyboard, the touchpad, and the logo. Cosmetic refurbishment can make the laptop look more attractive and personalized, and it can be done using Skinz™and SticKeys™ products.
Skinz™
Skinz™are vinyl stickers that can be applied to the laptop case to change its color, texture, or design. SK Skinz™ are durable, removable, and customizable, and they can cover up any scratches, dents, or stains on the laptop case. Skinz™come in different sizes, shapes, and styles, such as solid colors, patterns, images, or logos. To apply a Skinz™, the following steps should be followed:
· Clean the laptop case with a microfiber cloth and a mild cleaner to remove any dust, dirt, or grease.
· Peel off the backing of the Skinz™ and align it with the edges of the laptop case.
· Press the Skinz™ firmly from the centre to the sides, and use a hair dryer or a heat gun to activate the adhesive and conform the Skinz™ to the shape of the laptop case.
· Trim any excess material from the Skinz™ with a sharp knife or scissors.
SticKeys
SticKeys are vinyl stickers that can be applied to the laptop keyboard to change its color, layout, or language. SticKeys are waterproof, removable, and customizable, and they can cover up any missing or damaged keys on the laptop keyboard. SticKeys come in different sizes, shapes, and types, such as QWERTY, AZERTY, or DVORAK. To apply a SticKeys™, the following steps should be followed:
· Clean the laptop keyboard with a microfiber cloth and a mild cleaner to remove any dust, dirt, or grease.
· Peel off the backing of the SticKeys™ and align it with the corresponding key on the laptop keyboard.
· Press the SticKeys™ firmly and use a hair dryer or a heat gun to activate the adhesive and conform the SticKeys™ to the shape of the key.
· Repeat the process for each key that needs to be refurbished.
Conclusion
Refurbishing a laptop is a rewarding and eco-friendly activity that can improve the performance and appearance of a used device. By following the framework of testing, screen refurbishment, and cosmetic refurbishment using Skinz™ and SticKeys™ products, anyone can refurbish a laptop with ease and confidence.